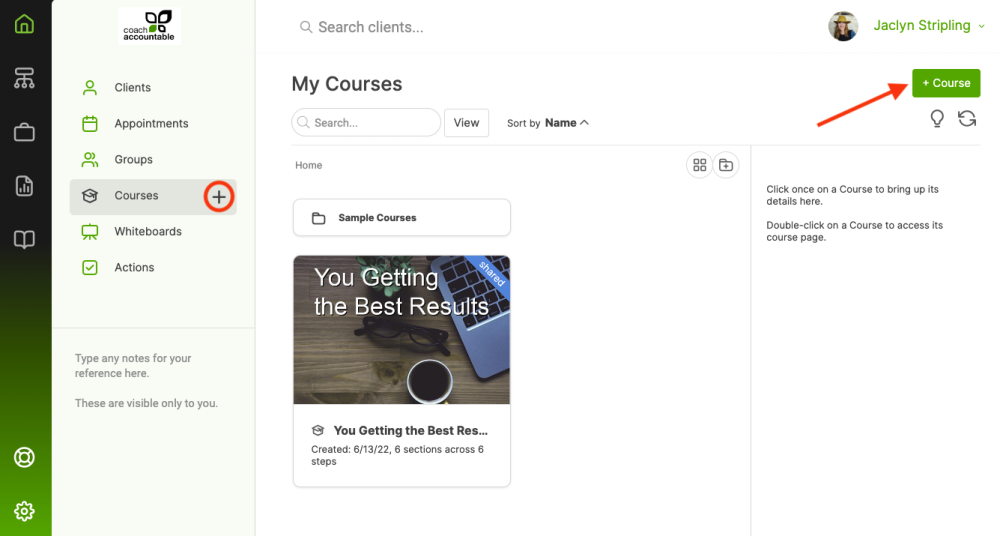
To create a Course, head to your Courses page from your home screen, then click the + next to Courses in the left menu or the +Course button:


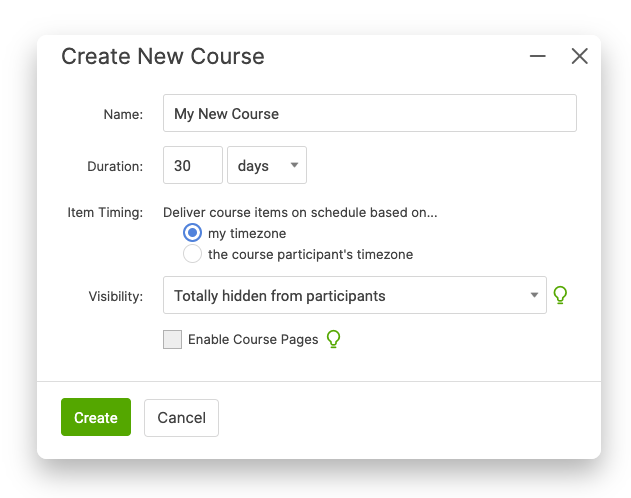
Set the item delivery to go out either in your timezone or in the participant's timezone. Choosing the course participant's timezone means that the system will automatically adjust assignment times and due dates based on the timezone of that particular course participant.
One caveat to this setting: When you have a Group participating in your Course. Because members of a Group aren't necessarily all in the same timezone, the system will automatically treat Group Courses as always being in the coach's timezone.
Next, set the participant visibility.
If you allow clients to see how far they've progressed or the entire timeline, you can enable Course Pages, which gives participants a central location to work through the Course material.
Click Create to be taken to the Course Builder, wherein you'll design the flow of material and assignments in your Course.